Add or Remove Users#
Note
Students enrolled in a course will be added automatically as a User in a class close to the course start date and cannot be removed.
Roles#
Instructors and PI’s are automatically assigned the Manager role within a project. Other users are either a Manager or a User, with the following permissions:
Role |
Permissions |
|---|---|
Manager |
add users, remove users, request allocations, use allocations |
User |
use allocations |
Role Restrictions#
The following restrictions apply to the Manager role:
External collaborators are not allowed to be project managers. Managers are required to have a current employee or student status at SMU.
Students and other users that are not eligible to be a project owner cannot add or remove users from projects. They can make allocation requests and changes as well as perform most other actions on projects.
Add a User#
To a Project/Class#
Video Walkthrough
Once a project or class is created, under Manage Project, click on

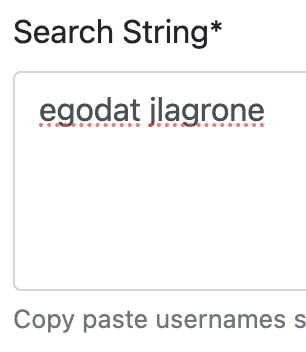
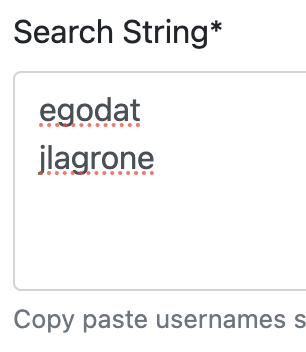
Type in usernames of the user(s) you would like to add separated by a space or on separate lines.
Click on

Note
If a user has already been added to the project or class, then you will see a message like this

Select which allocation you would like users to be added to within the project under
 .
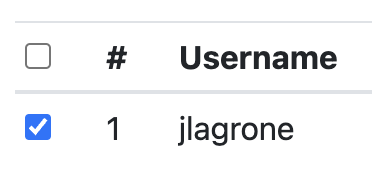
.Select the user(s) that you want to add from the list
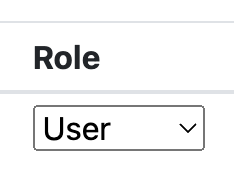
and change their role to either Manager or User using the dropdown.
Click on

You can verify that a user has been added under Users on the Project/Class page.
To an Allocation#
Note
When requesting an allocation you can give permissions to existing users. When adding a user to a project initially, you can add them to active allocations. The following instructions are for adding existing users to an active allocation.
Navigate to the Allocation details page by clicking on the allocation under
 in the
  panel.
Scroll down to the
 panel and click on .
Select which users to add to the allocation. If it is a Storage allocation, you will also need to select their Permissions (Read and Write or Read Only).
Click on
 .
.The user will still need to accept the Policies and Guidelines to use the allocation.
Remove a User#
From a Project/Class#
Click on
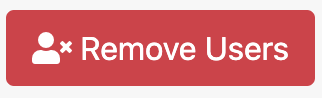 in the header next to
  .
.Select the user(s) that you want to remove from the list.
Click on
 .
.You can verify that a user has been removed under
on the Project/Class page.
From an Allocation#
Change User#
Role#
Next to the user’s role you would like to change, click on
 under Actions.
Change their role using the dropdown:

Click on

Allocation Permissions (for Storage allocations only)#
Navigate to the Allocation details page by clicking on the allocation under
in the panel.Scroll down to the
panel and click on  .
.From the
 , set the desired Permissions.
Note
Occassionally, it takes a while to provision users on the actual HPC systems. If you see a message like this

either your users have not accepted the Policies and Guidelines yet, or they are still being provisioned with their original permissions. Check back in a few hours and users may be eligible for a permissions change.
Click on
 .
.
Notification Settings#
Under Users on your project page, you will see a column to
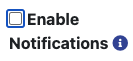 .
.Check or uncheck the box to enable or disable notifications for all users, or do so individually for each user.
Note
You cannot disable notifications for someone with the Manager role. As the PI or Instructor, you are responsible for monitoring changes to allocations in your projects.