ColdFront Quick Start#
Creating a Project#
Login to ColdFront via SSO with your SMU ID and Password
Select Add a project
Complete the fields
Select Save once complete.
Once Project is created you will have multiple options to Add additional users, request allocations, add Grant information, and publications.
To add users#
Once your project is created, select Add Users within the Users section of your project

If you are searching by “Exact Username Only” search for the user via username (first part of NetID)
Note
If you are adding multiple users, you can list them all in the Search String box
If you are searching by “All Fields” you can enter last name or username (first part of NetID)
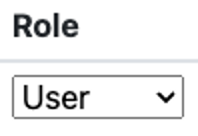
Once you’ve found and selected the user(s), select the role the user should have
Then Add Selected Users to Project
Once complete you will see all users requested under the Users section
To Request Resource Allocations#
Next to Allocations, Select the +Request Resource Allocation button
Complete all required fields
Select the users you’d like to add to this allocation
Select Submit
Once complete you will see your status request as Pending Review under Allocations
To view your current usage#
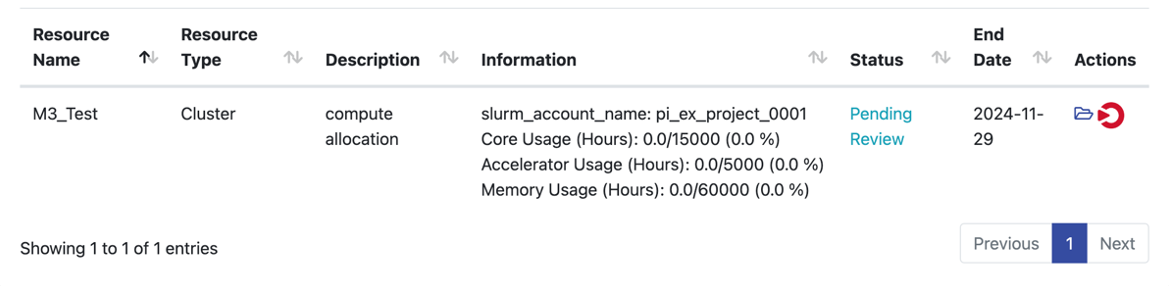
Under Allocations select the folder icon
You will see your Allocation details, Policies and Guidelines Agreements, and Usage by Hours
To add a class for HPC Access [Faculty/TA ONLY]#
Select the Add a Class button

Select your Course and additional sections (if necessary)
Note
If you are adding multiple users, you can list them all in the Search String box
Check the additional boxes below the sections based off need of the class
Select Save
All students enrolled in class will show under Users
Note
All students will appear 7 days before the semester begins.
The Allocations selected previous will show under Allocations, however if additional ones are needed you can add by clicking on the +Request Resource Allocations button

Archive a Project#
After logging into ColdFront, select your project from the Home Screen
Select Archive Project top right of the page
To Archive select “Yes” after reading the disclaimer

Once you project is successfully archived, you will not be able to make any changes but will still be able to view some details at any time
To view Archive Projects#
After logging into ColdFront, select Projects> Projects
Top right of your page, you will see View Archived Projects